A few weeks ago I was tasked with installing SuiteCRM for a proof of concept. Since the environment was primarily Windows, we went with a brand new Server 2012 R2 VM that was fully patched (environment had no license to use Server 2016). We tried following the documentation for SuiteCRM but found it to be less than helpful. No matter what we did (whether trying to use TomCat or IIS), we couldn’t get the install.php page to launch to complete the install. We certainly were not opposed to running this application on a Linux box, but there is beauty in uniformity, especially when your administrators are stronger with Windows support. So, for a week or two this project was put on hold while we tried to find a way around the road block.
At this point I could only surmise we were missing something small, perhaps something about which the documentation was not clear. Then I happened to see these posts on MangoLassi.it in which posters agreed the SuiteCRM documentation just is not that helpful. In the second link below, Jared Busch started a great how-to for installing SuiteCRM on Fedora.
- https://mangolassi.it/topic/13667/suitecrm-install-guide-anyone
- https://mangolassi.it/topic/13731/how-to-install-suitecrm-7-8-3-on-fedora-25-minimal
There’s This Thing Called Bitnami
At that point, I was really close to just installing Fedora and following Jared’s guide, but then I remembered something a friend had told me about Bitnami. He had recommended using their optimized WordPress instance to run on Google Cloud for a different project. If you’ve never heard of Bitnami, they do application packaging, and when they do it, they create customized versions of popular applications that can be quickly deployed on your own infrastructure or favorite cloud provider. Here are the flavors available for most applications (completely free of charge):
- Linux / Mac / Windows installer
- Downloadable virtual machine image to deploy on your own infrastructure (VMware / VirtualBox ready)
- Virtual machine image to deploy with your favorite cloud hosting provider
- Container deployment (Docker / Kubernetes)
As luck would have it, they had a packaged version of SuiteCRM. Notice from this site we have the option to demo in browser (as in Bitnami will spin up a temporary instance for you to test for 1 hour), launch in the cloud (requires use AWS, Google Cloud, Azure, etc.), download a local installer, or the container deployment. I chose the local installer for Windows and will run through it for your benefit.
Walk through the Install – 10 Minutes
After you download the Windows installer from Bitnami, double-click to install.
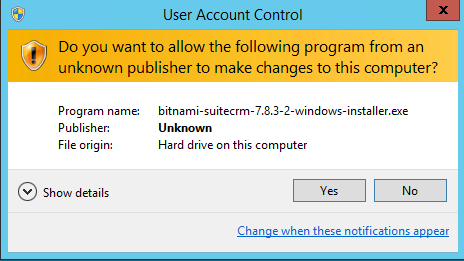
Click Yes to get past the User Account Control prompt.
The setup has now launched.
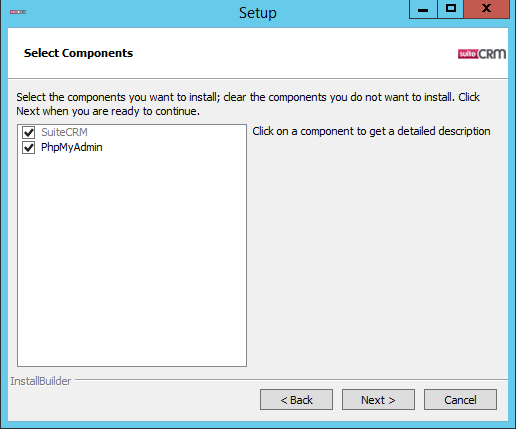
We have the option to not install PhpMyAdmin, but it is selected by default.
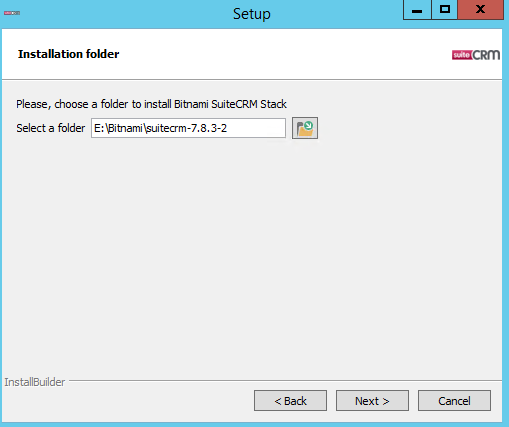
Pick an installation location. I like to put the installer on a volume separate from the OS.
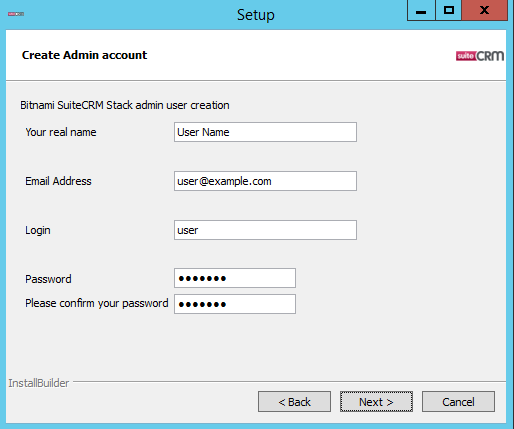
Create the admin account that will be used for SuiteCRM. This is the account you will use to login once the installer finishes. The screenshot here is generic and can be customized to your naming specifications.
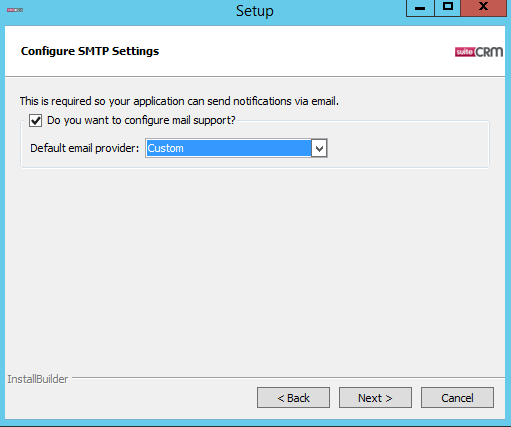
Optionally, you can configure SMTP settings to integrate with e-mail (GMail or other custom SMTP server). I chose custom here to show all of the required fields needed.
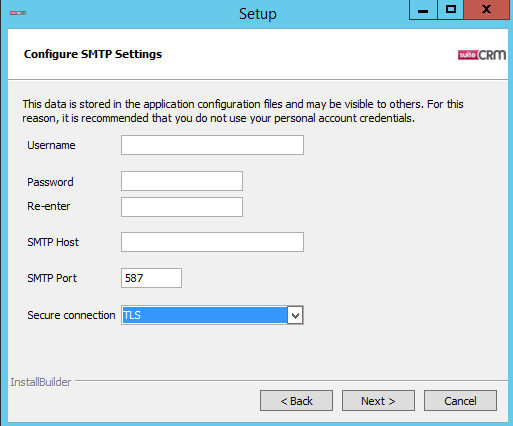
Don’t feel like SMTP must be configured now as it can be easily configured at a later time, but here’s a shot of what you can expect to provide.
From the looks of this page, they want you to be sure you want the local install. Be sure to clear the checkbox here before continuing.
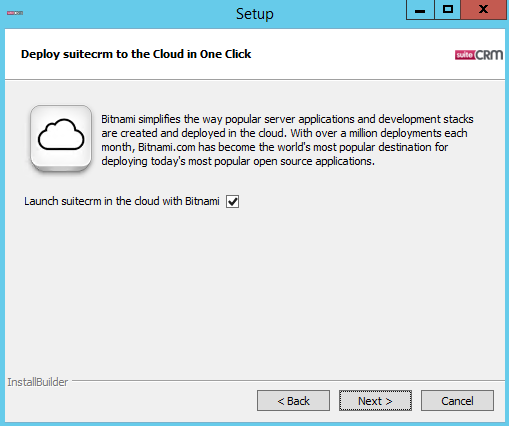
Are you ready to hit the Next button and begin the install? Go for it!

And now, we watch the progress bar.
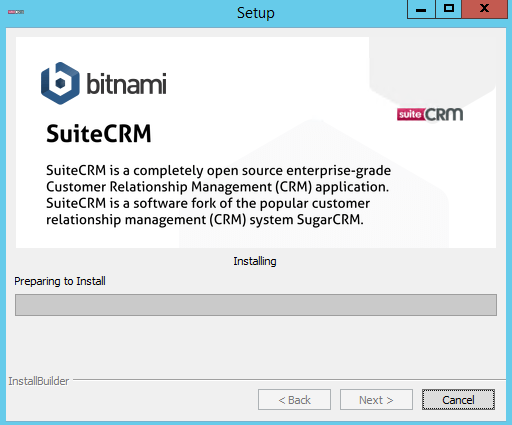
Don’t be fooled. We’re still waiting for the install to finish.
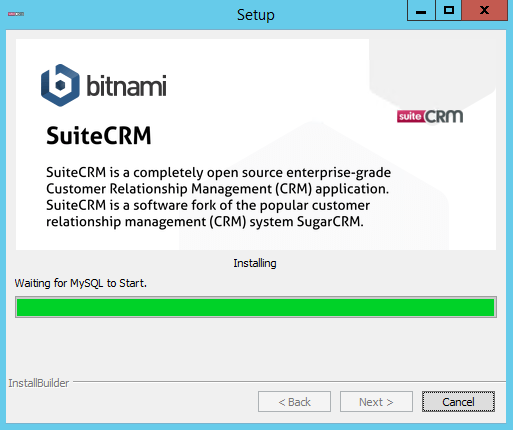
Oh wait…there’s more to install?
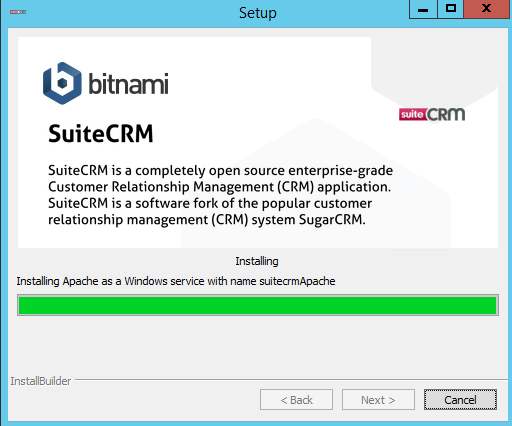
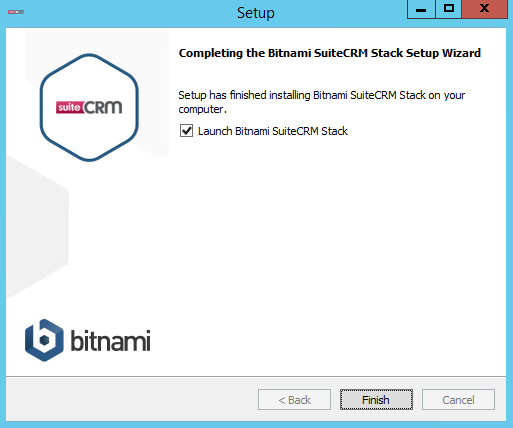
The install has finally completed. Click Finish to launch the Bitnami CRM Stack.
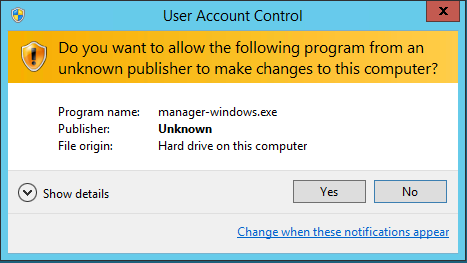
Go ahead and click Yes when met with this UAC prompt to open the Bitnami Suite CRM Stack.
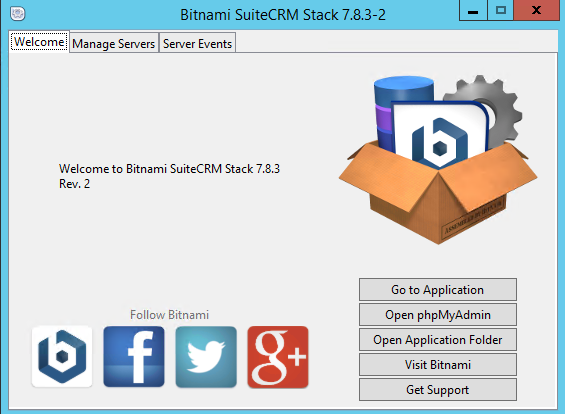
This is Bitnami’s custom services manager for the stack we’ve installed to run SuiteCRM. Notice from this tab you have the option to go to the SuiteCRM application, Open phpMyAdmin (can only be done on the server where SuiteCRM is installed), open the application folder, etc.
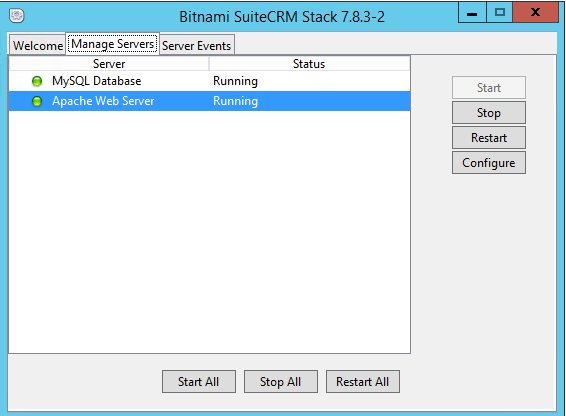
Clicking on the Manage Servers tab we can easily stop, start, restart, or configure MySQL or Apache. And there’s a Server Events tab that can be used to troubleshoot any events specific to the Bitnami stack.
If you were to click Go to Application from the Welcome tab of the Bitnami SuiteCRM manager application, here’s what you see once the default web browser on the server opens. Click the Access SuiteCRM link to reach the SuiteCRM login page.
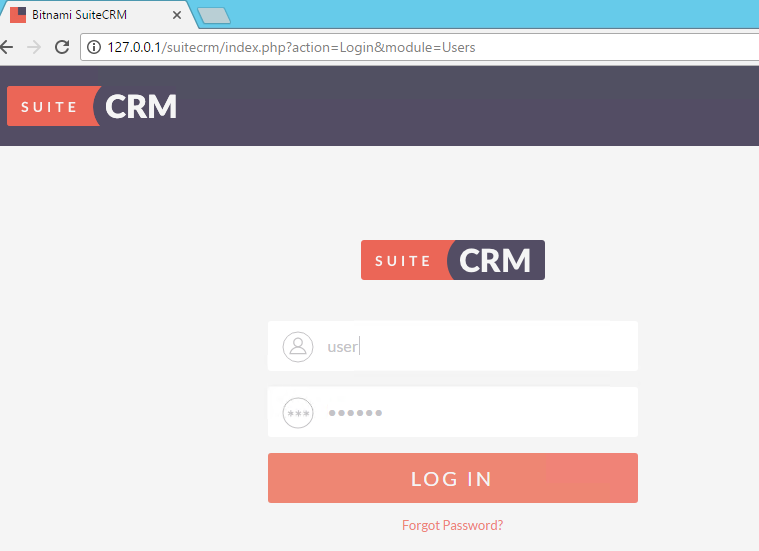
Now we’re in business and can login to the application with the admin user created during the install. Keep in mind the screenshot here was taken from the server running SuiteCRM. You’ll need to make sure you’ve opened port 80 or 443 in Windows Firewall so the application can be accessed remotely (at https://servername/suitecrm/index.php for example if using port 443). Apache is configured to listen on either port and even comes with its own SSL certificate so you don’t get annoying security warnings in web browsers when accessing the SuiteCRM application remotely.
What Else Do I Need to Know?
- Bitnami has a tremendous number of installers available – https://bitnami.com/stacks. I highly recommend taking advantage of their online demos (only available for 1 hour) for applications you have not used or would just like to try.
- It’s very easy to do a push install of a Bitnami packaged application to a cloud provider like Google Cloud, for example. Take a look at all of the cloud providers with which they will integrate – https://bitnami.com/cloud. They have documentation that will show you how to connect to the cloud provider of your choice and deploy an application.
- In this blog post, we downloaded a customized Bitnami stack with SuiteCRM (called a Native Installer), but it is possible to use one WAMP / MAMP / LAMP stack from Bitnami to run multiple applications on the same server. This post discusses the difference between native installers, stacks, and modules.
- For more detail on SMTP configuration for SuiteCRM and how to update the SuiteCRM application, see this post. The screenshots look a bit dated compared to what the SuiteCRM interface looks like after I did the install. I’ll admit to not having tested the upgrade of SuiteCRM since this was a new install.
- I don’t claim to have found Bitnami on my own. Check out John White’s writeup on his move to Bitnami and Google Cloud that really gave me the idea for this post.